
前言
加紧速度,争取让教程快速跟上线上版本的速度,不然老要写两遍,太麻烦了。如果游戏整个过程中有什么不太懂的,或者特别想了解的环节,可以直接留言给我,我会专门写文章来介绍这些东西。
同样这次也录了视频,在文章的最底部,不想看文字的同学可以直接去最下面看视频。
之前设计了卡牌的基础数据,但是随着开发的深入,之前设计的基础数据仅仅只能简单显示一张卡牌,这次就完善设计一下卡牌的数据结构,并且顺便把发牌代码做了。
线上地址:http://cardgame.xiejingyang.com
github:https://github.com/xieisabug/card-game
开始
首先设计卡牌的数据结构:对于每个卡牌,都需要有个id标识,保证卡牌的id是唯一的,然后有名称,费用,攻击,生命,对于卡牌类型我们要进行区分,目前我们只做人物牌和效果牌,然后卡牌需要一个描述字段用于显示卡牌的效果,还可以注意到如果卡牌扣血或者被进行强化了那么血量和攻击力都有相应的样式,这里就要记录下来卡牌基础攻击力和基础血量。
然后除了卡牌有类型,卡牌的人物也有类型,这个类型就是类似的“前端”、“服务端”这种,相当于炉石传说的“元素”“机械”。
然后卡牌需要有生命周期,用于实现各种特定的效果,那么暂定卡牌的生命周期有:
- 打出时
- 别的卡牌打出时
- 我的回合开始时
- 我的回合结束时
- 选定目标时
- 死亡时
- 桌面卡牌变动时
有了这些生命周期,能够实现绝大部分的功能了,例如战吼、亡语等,但是炉石传说还有一些词缀是无法用生命周期实现的,比如嘲讽、风怒等,所以也要设计一些词缀,硬编程在代码里。如果还需要一些生命周期也可以以后再添加,比如当攻击时,当被攻击时等等。
为了与炉石区分开,同时又要和程序员大战契合,我将词缀名称修改了,改为了:“奉献”、“精力充沛”、“坚强”对应的“嘲讽”、“冲锋”、“圣盾”。
那么一张卡牌完整的数据结构就是如下了:
{
	id: 0,
	name: "xxxxxx",
	cardType: CardType.CHARACTER,
	cost: 3,
	content: `xxxxxxxxxx`,
	attack: 2,
	life: 1,
	attackBase: 2,
	lifeBase: 1,
	type: [""],
	isStrong: true,
	isFullOfEnergy: true,
	isDedication: true,
	onStart: function() {},
	onOtherCardStart: function() {},
	onMyTurnStart: function() {},
	onMyTurnEnd: function() {},
	onChooseTarget: function() {},
	onEnd: function() {},
	onTableCardChange: function() {},
}
那现在就要设计几张卡牌,因为生命周期我们还没实现,就先设计几张简单的卡牌,在server端,创建constants.js,把这些卡牌都放进去:
{
    id: 1,
    name: "励志的演说家",
    cardType: CardType.CHARACTER,
    cost: 2,
    content: ``,
    attack: 1,
    life: 2,
    attackBase: 1,
    lifeBase: 2,
    type: [""]
},
{
    id: 5,
    name: "高级程序员",
    cardType: CardType.CHARACTER,
    cost: 7,
    content: ``,
    attack: 7,
    life: 7,
    attackBase: 7,
    lifeBase: 7,
    type: [""]
},
{
    id: 6,
    name: "开发助理",
    cardType: CardType.CHARACTER,
    cost: 1,
    content: ``,
    attack: 1,
    life: 1,
    attackBase: 1,
    lifeBase: 1,
    type: [""]
},
{
    id: 8,
    name: "丑陋的开发鼓励师",
    cardType: CardType.CHARACTER,
    cost: 1,
    content: `精力充沛`,
    attack: 1,
    life: 1,
    attackBase: 1,
    lifeBase: 1,
    type: [""],
    isFullOfEnergy: true
}
卡牌设计基本完成了,现在做一下发牌,发牌阶段看似简单,实际上涉及到了三个阶段:数据初始化,洗牌,发牌。
首先要说一个概念,就是随机数种子,这个种子是用来将随机数固定为一个序列的,魔兽争霸一盘的录像非常小,按道理说魔兽争霸小兵每一次攻击都是随机的数值,如果都要记录下来,那么录像文件会非常的大,但是如果能够用随机数种子,将每次的随机数固定为一个序列,那么所有小兵的攻击都只需要记录攻击了谁,而不需要记录那次攻击具体的数值,看录像的时候,重新用随机数种子生成一次随机数,随机数和之前玩的时候和一毛一样。我这里用的是seedrandom,大家如果有兴趣可以看看它是怎么实现的。
在开局的时候,也记录一个随机数种子seed,用seedrandom的方法保存一个随机方法,然后就可以开始进行洗牌。
let seed = Math.floor(Math.random() * 10000);

memoryData[roomNumber] = {
    isPve,
    startTime: new Date(),
    gameMode: GameMode.PVP1,
    seed, // 随机数种子
    rand: seedrandom(seed), // 随机方法
    round: 1
};
创建一个utils文件,添加洗牌shuffle方法,传进去随机方法和牌组,返回洗牌之后的牌组。
function shuffle(rand, a) {
    for (let i = a.length - 1; i > 0; i--) {
        const j = Math.floor(rand() * (i + 1));
        [a[i], a[j]] = [a[j], a[i]];
    }
    return a;
}
然后抽一张牌,推送卡牌给客户端,写一个抽卡函数:
function getNextCard(remainingCards) {
    if (remainingCards.length > 0) {
        return remainingCards.splice(0, 1)[0]
    } else {
        return null
    }
}
初始化卡牌的代码如下,只要在connect的时候调用一下就可以了:
function initCard(roomNumber) {
    let random = memoryData[roomNumber].rand() * 2;

    let first = random >= 1 ? "one" : "two"; // 判断当前是哪个玩家出牌
    let second = random < 1 ? "one" : "two";

    memoryData[roomNumber]["one"]["remainingCards"] = shuffle(memoryData[roomNumber].rand, Cards.map((c, index) => Object.assign({k : `one-${index}`}, c)));
    memoryData[roomNumber]["two"]["remainingCards"] = shuffle(memoryData[roomNumber].rand, Cards.map((c, index) => Object.assign({k : `two-${index}`}, c)));

    let firstRemainingCards = memoryData[roomNumber][first]["remainingCards"];
    let secondRemainingCards = memoryData[roomNumber][second]["remainingCards"];

    Object.assign(memoryData[roomNumber][first], {
        cards: [
            getNextCard(firstRemainingCards),
            getNextCard(firstRemainingCards),
        ]
    });

    Object.assign(memoryData[roomNumber][second], {
        cards: [
            getNextCard(secondRemainingCards),
        ]
    });

    sendCards(roomNumber);

}
客户端收到卡牌,保存下来,更新到界面上。 先在data里增加游戏数据gameData,以后游戏的展示都是用gameData中的数据为准:
data() {
    return {
        // other code ...
        gameData: {
            myCard: [], // 手牌
        },
    };
},
this.socket.on("SEND_CARD", (param) => {
    this.gameData = Object.assign({}, this.gameData, param);
});
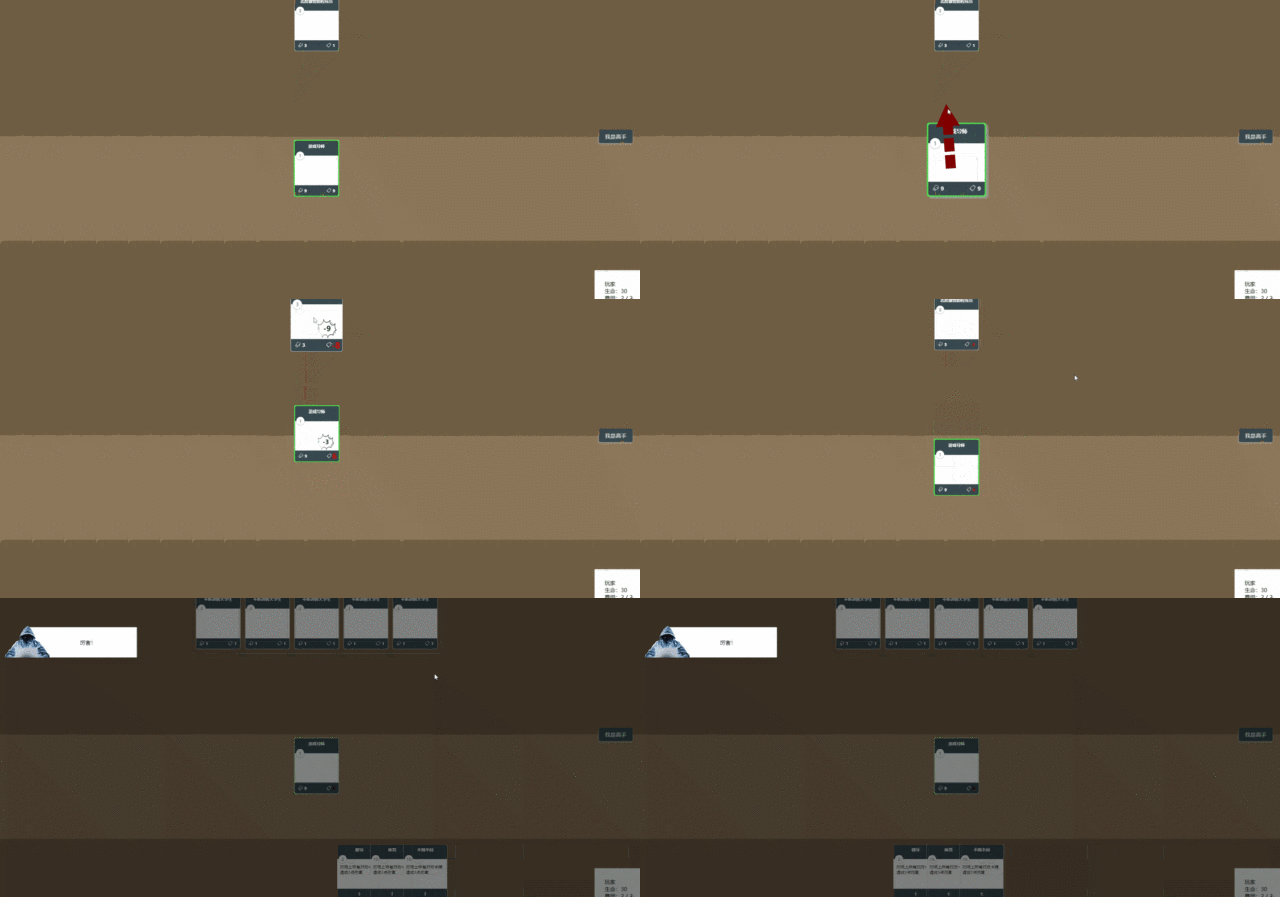
然后,看到之前写的卡牌dom,还缺少一些小图标,缺少伤害的展示,缺少词缀的标记。 我icon都是从iconfont这个网站上面找的,用起来非常方便,我这里就不找了,直接用之前的。
修改一下Card这个文件的样式,加上攻击和血量的图标,添加一个伤害的样式,伤害我是用vue的watch来实现的,当life改变的时候,计算伤害值,展示伤害的样式:
<div ref="cardDom" class="card" @mousedown="mouseDown($event)" :data-index="index">
    <div :class="isDedicationClassName"></div>
    <div :class="isStrongClassName"></div>

    <div class="card-name">{{name}}</div>
    <div class="card-cost" v-if="cost !== -1">{{cost}}</div>
    <div class="card-content">
        {{content}}
    </div>
    <div class="card-bottom" v-if="data.cardType === 2">
        <div>
            <i class="iconfont icon-attack"></i>
            <div :class="attackClassName">{{attack}}</div>
        </div>
        <div>
            <i class="iconfont icon-life"></i>
            <div :class="lifeClassName" ref="cardLife">{{life}}</div>
        </div>
    </div>
    <div class="card-bottom" style="justify-content: center" v-if="data.cardType === 1">
        <i class="iconfont icon-flash"></i>
    </div>

    <div class="hurt-container" v-show="hurtShow" ref="hurtContainer" style="transform: scale(0)">
        {{hurtNumber > 0 ? `+${hurtNumber}` : hurtNumber}}
    </div>
</div>
watch: {
    life: function(newVal, oldVal) {
        if (this.$refs['cardLife']) {
            Velocity(this.$refs['cardLife'], {
                scale: 1.8
            }, {
                duration: 150
            }).then(el => {
                Velocity(el, {
                    scale: 1
                }, {
                    duration: 150,
                    delay: 250
                })
            });

            this.hurtNumber = newVal - oldVal;
            Velocity(this.$refs['hurtContainer'], {
                scale: [1, 0]
            }, {
                duration: 200,
                begin: () => {
                    this.hurtShow = true
                }
            }).then(el => {
                Velocity(el, {
                    scale: 0
                }, {
                    duration: 200,
                    delay: 600,
                    complete: () => {
                        this.hurtShow = false
                    }
                })
            })
        }

    },
},
然后加上几个词缀的样式。 我这里使用了一个库叫buildclassname
attackClassName() {
    return buildClassName({
        "card-attack": true,
        "low": this.attack < this.attackBase,
        "up": this.attack > this.attackBase
    })
},
lifeClassName() {
    return buildClassName({
        "card-life": true,
        "low": this.life < this.lifeBase,
        "up": this.life > this.lifeBase
    })
},
isDedicationClassName() {
    return buildClassName({
        "dedication": true,
        "hide": !this.isDedication
    })
},
isStrongClassName() {
    return buildClassName({
        "strong": true,
        "hide": !this.isStrong
    })
},
这样就基本实现了卡牌的数据结构和发牌。
下一章讲一下断线重连、伤害、出牌。
0 条评论