前言
最近抽时间把前两个界面重新做了下,看起来不那么像demo了,之后会把游戏内容丰富一下。
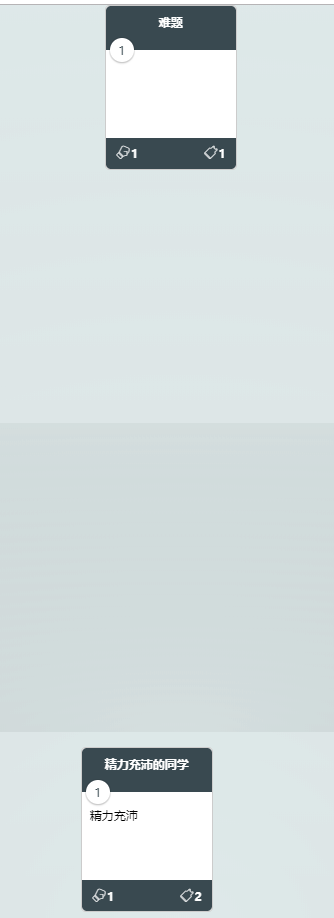
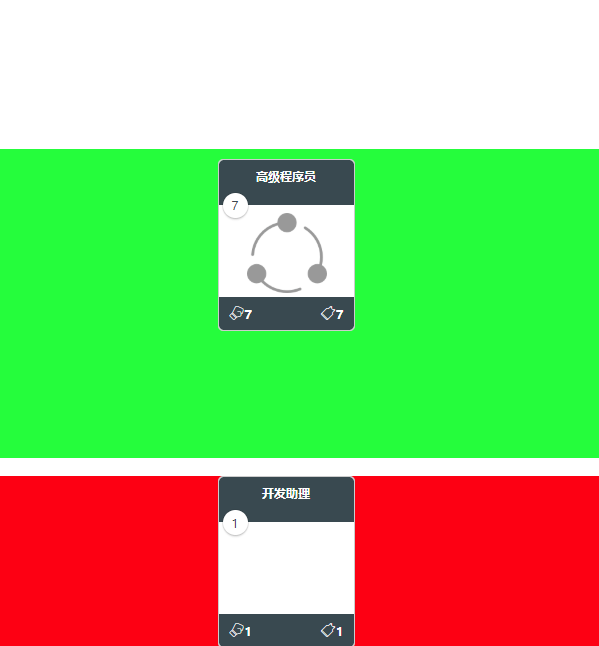
今天要做的效果是这样的,出牌:
默剧老电影:

线上地址:http://cardgame.xiejingyang.com
github:https://github.com/xieisabug/card-game
同样建议大家看着视频,同步看文章,会比较直观:https://www.bilibili.com/video/av73822418/
开始
先实现的是出牌,听起来可能比伤害简单,可实际上它比伤害更复杂。所以,这里的出牌,单单只实现打出伙伴,更复杂的逻辑比如效果卡和需要目标选择的卡牌留到之后的文章。
出牌的思路如下:检查费用,费用够的情况才能打出牌,检查场上还能否放置更多的伙伴,满了也不能打出牌,手牌中删除要出的牌,扣除对应费用,场上添加对应的伙伴,出牌的逻辑才完成。
先完成客户端操作,拖拽卡牌并且放在自己的桌面上代表出牌,处理卡牌拖拽,为卡牌dom加上ref:ref="cardDom",接着在mounted中加入获取dom引用代码:
mounted() {
   this.cardDom = this.$refs['cardDom'];
},
然后传入是否可拖拽的选项canDrag: Boolean同时加入是否在桌面选项isOut: Boolean,在Card.vue的mouseDown事件中,加入拖拽的处理:
mouseDown(e) {
    if (this.canDrag) {
        this.isDrag = true;
        window.isCardDrag = true;
        this.cardDom.style['transition'] = 'all 0s';
        this.startX = e.pageX;
        this.startY = e.pageY;
        window.cardMoveX = this.startX;
        window.cardMoveY = this.startY;
        this.outCardLoop();
    } else if (this.isOut) {
        this.$emit('onAttackStart', {
            startX: e.pageX, startY: e.pageY, index: this.index
        });
    }
},
outCardLoop() {
    if (this.isDrag) {
        requestAnimationFrame(this.outCardLoop);

        this.cardDom.style['transform'] = 'translate(' + (window.cardMoveX - this.startX) + 'px, ' + (window.cardMoveY - this.startY) + 'px) scale(1.1)';
    } else {
        this.cardDom.style['transform'] = '';
    }
},
在GameTable.vue中registerOutCardEvent方法之前定义了鼠标移动和鼠标抬起事件,在移动事件中需要更新window.cardMoveX和window.cardMoveY:
// 出牌时抓起牌移动
window.onmousemove = (e) => {
	if (window.isCardDrag) {
	    window.cardMoveX = e.pageX;
	    window.cardMoveY = e.pageY;
	}
	// other code ...
}
再为卡牌加上canDrag和isOut就可以看看效果了:
这样就用transform动画实现了卡牌拖拽,接下来处理放置,当我们开始拖拽卡牌的时候,实际上GameTable还是不知道点击的是哪张卡牌的,所以必须在开始拖拽的时候告诉GameTable,恰好在之前攻击的时候也出现了这样的需求,所以重构一下,将方法改为GameTable传递进来,命名为chooseCard: Function:
mouseDown(e) {
    if (this.canDrag) {
        this.isDrag = true;
        window.isCardDrag = true;
        this.cardDom.style['transition'] = 'all 0s';
        this.startX = e.pageX;
        this.startY = e.pageY;
        window.cardMoveX = this.startX;
        window.cardMoveY = this.startY;
        this.outCardLoop();
    } else if (this.data.isActionable && this.isOut) {
        this.$emit('onAttackStart', {
            startX: e.pageX, startY: e.pageY
        });
    }
    if (this.chooseCard) {
        this.chooseCard(this.index, e);
    }
},
修改GameTable中桌面部分的代码,为Card传入chooseCard,桌面牌传入chooseTableCard,手牌传入chooseHandCard:
/**
 * 选择卡片
 * @param index 我手上的卡片
 */
chooseHandCard(index) {
    this.currentCardIndex = index;
},

/**
 * 选择桌面上我的卡
 * @param index 我的桌面卡片index
 * @param event 点击事件
 */
chooseTableCard(index, event) {
    this.currentTableCardK = this.gameData.myTableCard[index].k

    event.preventDefault();
    event.stopPropagation();
},
同样在GameTable.vue中registerOutCardEvent中定义的mouseup事件,增加判断卡牌落点的逻辑:
window.onmouseup = (e) => {
	if (window.isCardDrag && this.currentCardIndex !== -1) {
	    window.isCardDrag = false;

	    let top = this.myCardAreaDom.offsetTop,
	        width = this.myCardAreaDom.offsetWidth,
	        left = this.myCardAreaDom.offsetLeft,
	        height = this.myCardAreaDom.offsetHeight;

	    let x = e.pageX,
	        y = e.pageY;

	    if (x > left && x < (left + width) && y > top && y < (top + height)) {
	        this.socket.emit("COMMAND", {
	            type: "OUT_CARD",
	            r: this.roomNumber,
	            index: this.currentCardIndex
	        });
  		}
	} else {
		// other code ...
	}
}
接下来后端先判断哪个玩家出的牌:
function outCard(args, socket) {
	let roomNumber = args.r, index = args.index, card;
	let belong = memoryData[roomNumber]["one"].socket.id === socket.id ? "one" : "two"; // 判断当前是哪个玩家出牌
	let other = memoryData[roomNumber]["one"].socket.id !== socket.id ? "one" : "two";

	// 后面代码接此处...
}
费用不够直接提示,桌面位置满了,也直接提示:
if (index !== -1 && memoryData[roomNumber][belong]["cards"][index].cost <= memoryData[roomNumber][belong]["fee"]) {
	card = memoryData[roomNumber][belong]["cards"].splice(index, 1)[0];
        if (card.cardType === CardType.CHARACTER && memoryData[roomNumber][belong]["tableCards"].length >= 10) {
            // error 您的基础卡牌只能有${memoryData[roomNumber][belong]['maxTableCardNumber']}张
            return;
        }
} else {
	// error 您的费用不足
}
如果都没有问题,则继续出牌的正常逻辑:
memoryData[roomNumber][belong]["fee"] -= card.cost;

memoryData[roomNumber][belong]["tableCards"].push(card);
memoryData[roomNumber][belong].socket.emit("OUT_CARD", {
    index,
    card,
    isMine: true
});
memoryData[roomNumber][other].socket.emit("OUT_CARD", {
    index,
    card,
    isMine: false
})
这个时候刚好处理一下战吼,也就是出牌的时候执行的事件,命名为onStart,在战吼之后同样要检查卡牌死亡的情况:
let mySpecialMethod = getSpecialMethod(belong, roomNumber);

if (card && card.onStart) {
    card.onStart({
        myGameData: memoryData[roomNumber][belong],
        otherGameData: memoryData[roomNumber][other],
        thisCard: card,
        specialMethod: mySpecialMethod
    });
}
checkCardDieEvent(roomNumber);
客户端接收到OUT_CARD事件,进行出牌操作,为socket注册事件:
this.socket.on("OUT_CARD", (param) => {
	const {index, card, isMine} = param;

	if (isMine) {
	    if (index !== -1) {
	        this.gameData.myCard.splice(index, 1);
	    }
	    this.gameData.myTableCard.push(card)

	} else {
	    this.gameData.otherTableCard.push(card)
	}
})
这个时候能出牌了:
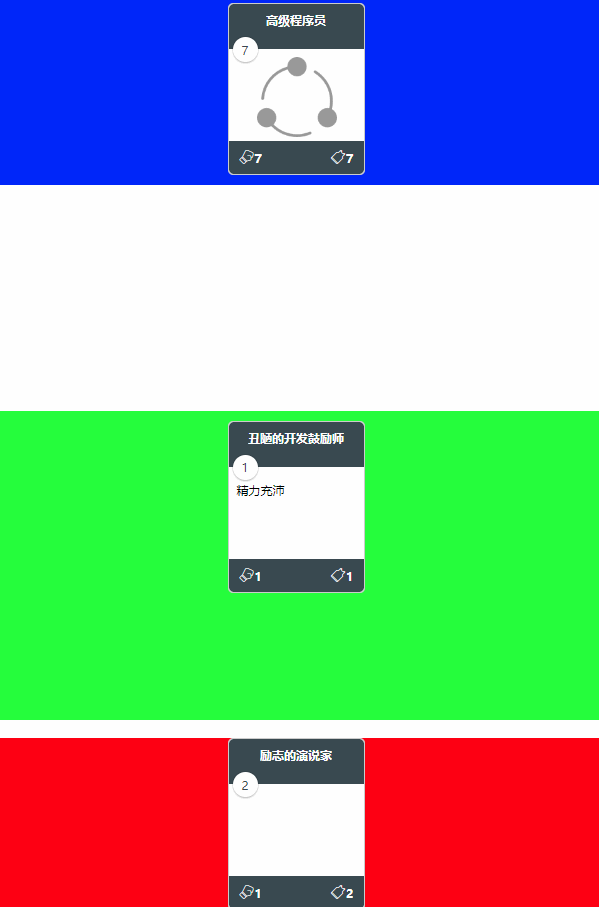
可是还少了一点灵魂,伙伴出现在桌面的时候,应该是要有一点点动画的,好在使用vue很容易实现,vue中有个transition-group,为子节点提供进入、退出的动画。
将之前桌面的dom修改一下,改为transition-group:
<transition-group
    class="other-card-area"
    tag="div"
    :css="false"
    @before-enter="beforeEnter"
    @enter="enter"
    @after-enter="afterEnter"
>
    <Card
        :key="c.k"
        :index="index"
        :data="c"
        v-for="(c, index) in gameData.otherTableCard"
    />
</transition-group>
<transition-group
    class="my-card-area"
    tag="div"
    :css="false"
    @before-enter="beforeEnter"
    @enter="enter"
    @after-enter="afterEnter"
>
    <Card
        :key="c.k"
        :index="index"
        :data="c"
        @onAttackStart="onAttackStart"
        v-for="(c, index) in gameData.myTableCard"
    />
</transition-group>
实现对应的钩子方法enter、beforeEnter、afterEnter:
beforeEnter(el) {
    el.style['transition'] = "all 0s";
    el.style.opacity = 0
},
enter(el, done) {
    Velocity(el, {scale: 1.3}, {duration: 10})
        .then(el => {
            return Velocity(el, {opacity: 1}, {duration: 300})
        })
        .then(el => {
            return Velocity(el, {scale: 1}, {duration: 200, complete() {done()}})
        })
},
afterEnter(el) {
    el.style['transition'] = "all 0.2s";
    el.style.opacity = 1;
    el.style.transform = '';
},
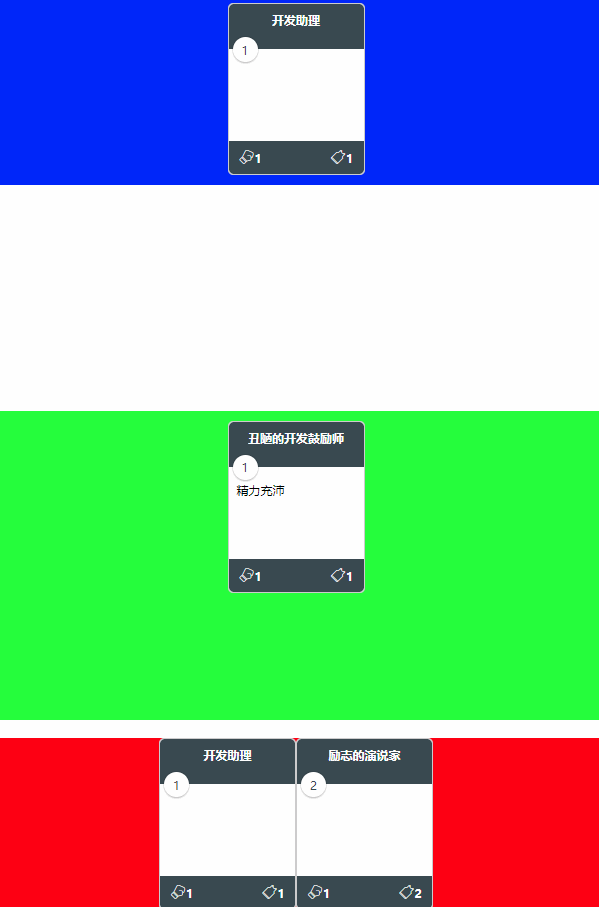
这样一看就有内味了。
这次额外介绍的是登陆界面的效果:
这是仿照老电影的效果实现的,起初是在codepen上看到的,觉得很新颖,就自己实现了一个。
思路是使用canvas随机生成很多噪点,用动画生成随机跳动的线和文字。
先创建Login页面Login.vue,写好基本的dom和样式:
<div class="container">
    <div class="screen">
        <div class="title-content">
            <h1 class="main-title">
                你的文字
            </h1>
            <h1 class="main-title main-title2">
                你的文字
            </h1>
        </div>

        <canvas id="noise" class="noise"></canvas>
        <div class="vignette"></div>
        <div class="line"></div>
    </div>
    <div class="login-container">
        <!-- 表单 -->
    </div>
</div>
.container {
    height: 100%;
    display: flex;
}
.login-container {
    flex: 1;
    max-width: 500px;
    border: 0;
    padding: 80px 100px;
    display: flex;
    flex-direction: column;
    box-shadow:-13px 14px 131px #D8CBBB;
    align-items: center;
    justify-content: center;
}
.screen {
    display: flex;
    flex: 1;
    color: white;
    background: linear-gradient(to right, rgba(36,31,31,1) 0%, rgba(36,31,31,1) 32%, rgba(74,71,70,1) 100%);
    justify-content: center;
    align-items: center;
    flex-direction: column;
    font-size: 35px;
    position: relative;
}

.title-content{
	position:relative;
	width: 370px;
    height: 500px;
}
.main-title {
    width: 370px;
    height: 500px;
    padding: .3em 1em .25em;
    font-weight: 400;
    font-size: 40px;
    color: white;
    position:relative;
    line-height:1.3;
    position:absolute;
    top:0;
    left:0;
}

.noise {
    position: absolute;
    z-index: 100;
    top: 0;
    left: 0;

    width: 100%;
    height: 100%;

    pointer-events: none;
    opacity: .15;
}

.vignette{
    position:absolute;
    width:100%; height:100%;
    box-shadow:inset 0px 0px 150px 20px black;
    mix-blend-mode: multiply;
    -webkit-animation: vignette-anim 3s infinite; /* Safari 4+ */
    -moz-animation:    vignette-anim 3s infinite; /* Fx 5+ */
    -o-animation:      vignette-anim 3s infinite; /* Opera 12+ */
    animation:         vignette-anim 3s infinite; /* IE 10+, Fx 29+ */
}

.dot{
    width:3px;
    height:2px;
    background-color:white;
    position:absolute;
    opacity:0.3;
}

.line {
    position:absolute;
    height:100%; width:1px;
    opacity:0.1;
    background-color:#000;
}


@-webkit-keyframes vignette-anim {
    0%   , 100%{ opacity: 1; }
    50% { opacity: 0.7; }
}
@-moz-keyframes vignette-anim {
    0%   , 100%{ opacity: 1; }
    50% { opacity: 0.7; }
}
@-o-keyframes vignette-anim {
    0%   , 100%{ opacity: 1; }
    50% { opacity: 0.7; }
}
@keyframes vignette-anim {
    0%   , 100%{ opacity: 1; }
    50% { opacity: 0.7; }
}
先完成噪点的生成,在mounted方法中获取到canvas的context:
const canvas = document.getElementById('noise');
const ctx = canvas.getContext('2d');
将canvas设置成和放置它的容器一样大:
let container = document.querySelector(".screen");
const wWidth = container.clientWidth;
const wHeight = container.clientHeight;

canvas.width = wWidth;
canvas.height = wHeight;
随机创建10幅噪点图像:
for (let i = 0; i < 10; i++) {
	let idata = ctx.createImageData(wWidth, wHeight);
	let buffer32 = new Uint32Array(idata.data.buffer);
	let len = buffer32.length;

	for (let i = 0; i < len; i++) {
	    if (Math.random() < 0.5) {
	        buffer32[i] = 0xff000000;
	    }
	}
	noiseData.push(idata);
}
再在页面上循环绘制:
const paintNoise = () => {
    if (frame === 9) {
        frame = 0;
    } else {
        frame++;
    }

    ctx.putImageData(noiseData[frame], 0, 0);
};

const loop = () => {
    paintNoise(frame);

    window.requestAnimationFrame(loop);
};

loop();
这样就能够看到满屏的噪点了。
后面的效果要经常用到范围随机,所以先写一个工具方法,生成范围内的随机数:
function R(max,min){return Math.random()*(max-min)+min};
接下来实现诡异的文字效果,其实很简单,看到dom应该有部分人已经猜到了,写两个一模一样的文字,让其中一个不停的轻微抖动,就能实现这种诡异的效果了:
let title = document.querySelector('.main-title2');

function animateTitle() {
    let animateChaning;
    for(var i=50; i--;){

        if (!animateChaning) {
            animateChaning = Velocity(title, { opacity:R(0,1), top:R(-3,3), left:R(-3,3) }, { duration: R(30, 170) })
        } else {
            animateChaning = animateChaning.then(el => {
                return Velocity(title, { opacity:R(0,1), top:R(-3,3), left:R(-3,3) }, { duration: R(30, 170) })
            })
        }
    };
    animateChaning.then(() => {
        animateTitle();
    })
}

animateTitle();
再为效果加上做旧,做旧的方式就是加入一根乱跳的竖线,像是屏幕坏道了一样:
let line = document.querySelector('.line');
function animateLine() {
    Velocity(line, {
        opacity : [R(0.1,1), R(0.1,1)],
        left : [R(-window.innerWidth/2,window.innerWidth/2), R(-window.innerWidth/2,window.innerWidth/2)]
    }, {
        duration: R(200, 500)
    }).then(() => {
        animateLine();
    })
}

animateLine();
总结
写到这,我也不知道下篇文章要做什么了,基本的思路似乎已经讲的差不多了,觉得我的文章给你带来了帮助的希望点个赞留个言支持一下。
或者有特别希望看到的内容可以留言私信我。
4 条评论
芝麻糊 · 2020年3月25日 21:05
能留下联系方式吗。。。方便小白问问题
xiejingyang · 2020年4月7日 16:30
有个qq群,532413727
梦中羽化 · 2021年1月8日 11:26
大佬可以更新一下git吗,我看演示地址的很多内容git上都没有,我想了解下效果牌的效果实现
xiejingyang · 2021年1月8日 15:41
你切换分支到product,那个分支上的代码和我部署的是一样的